
Last updated November 21, 2026
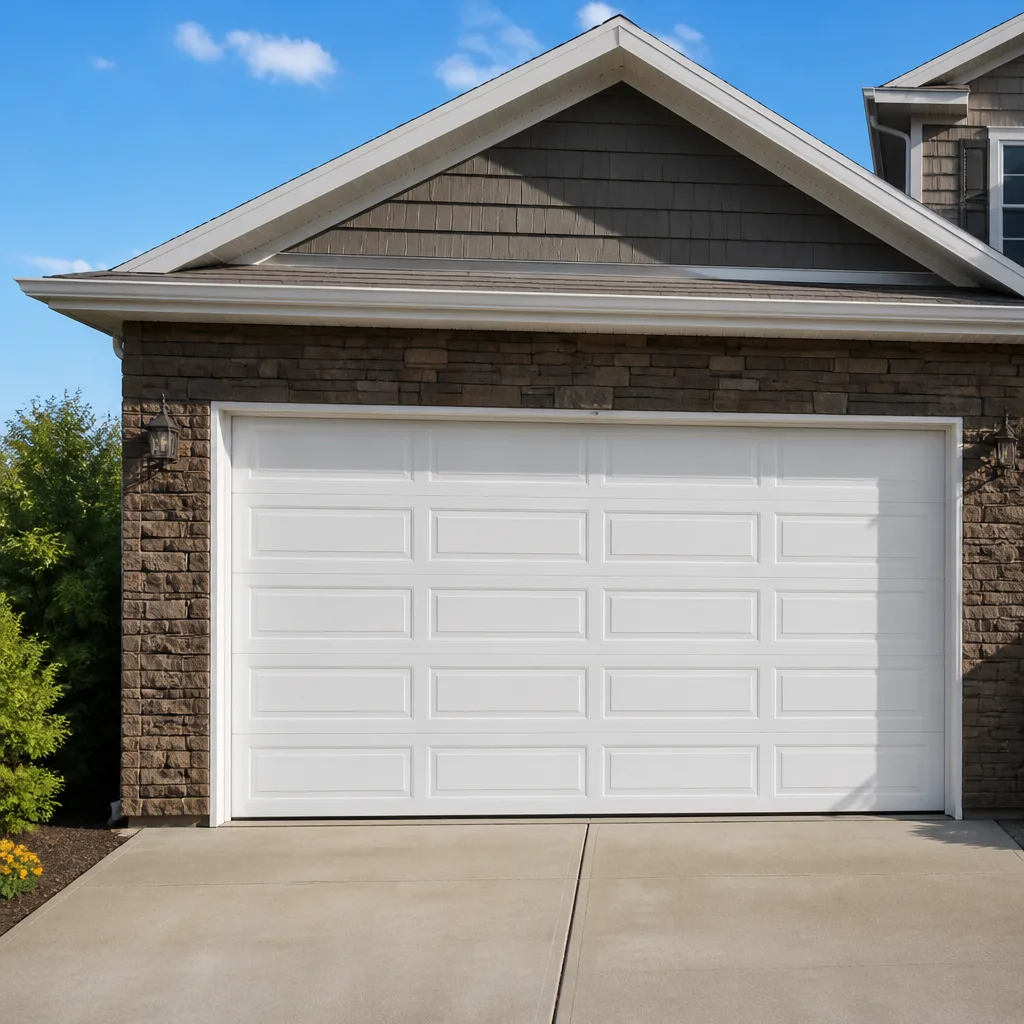 Raised-panel steel
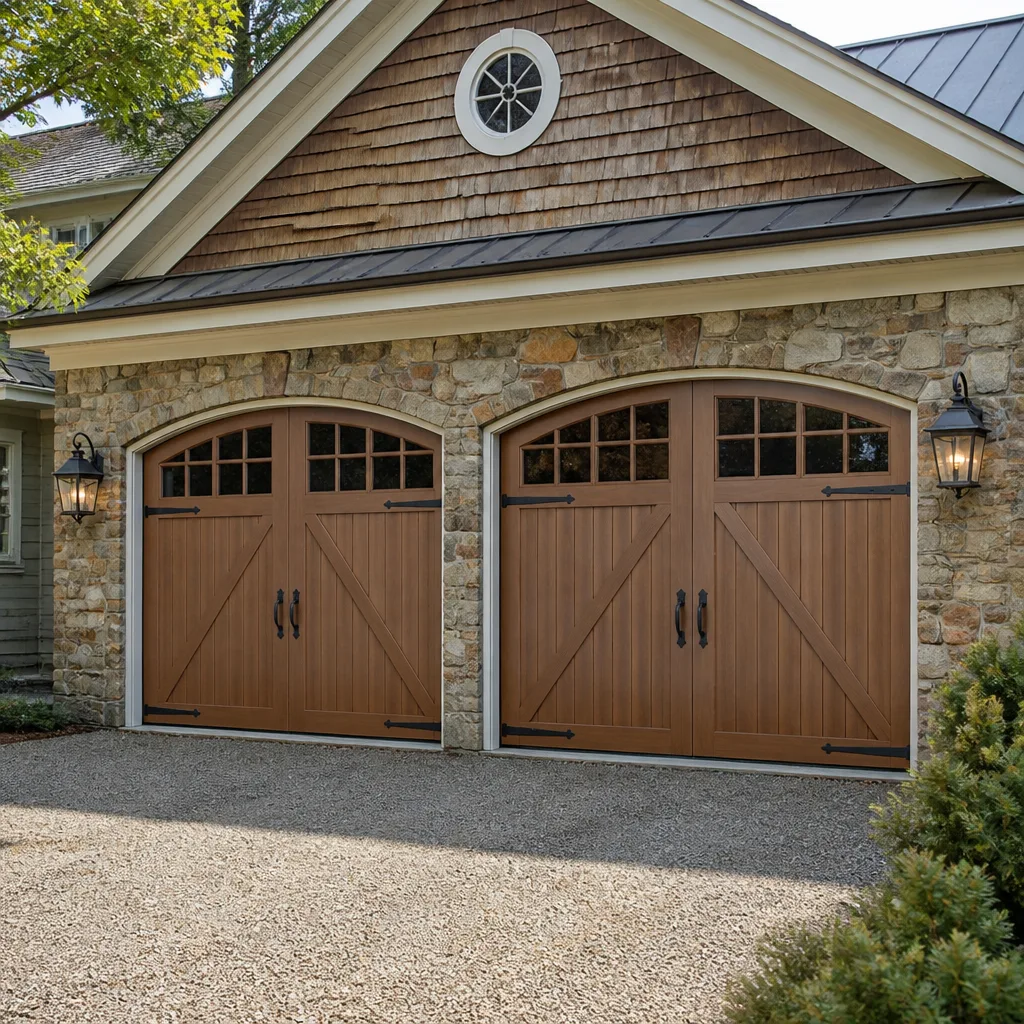 Carriage house
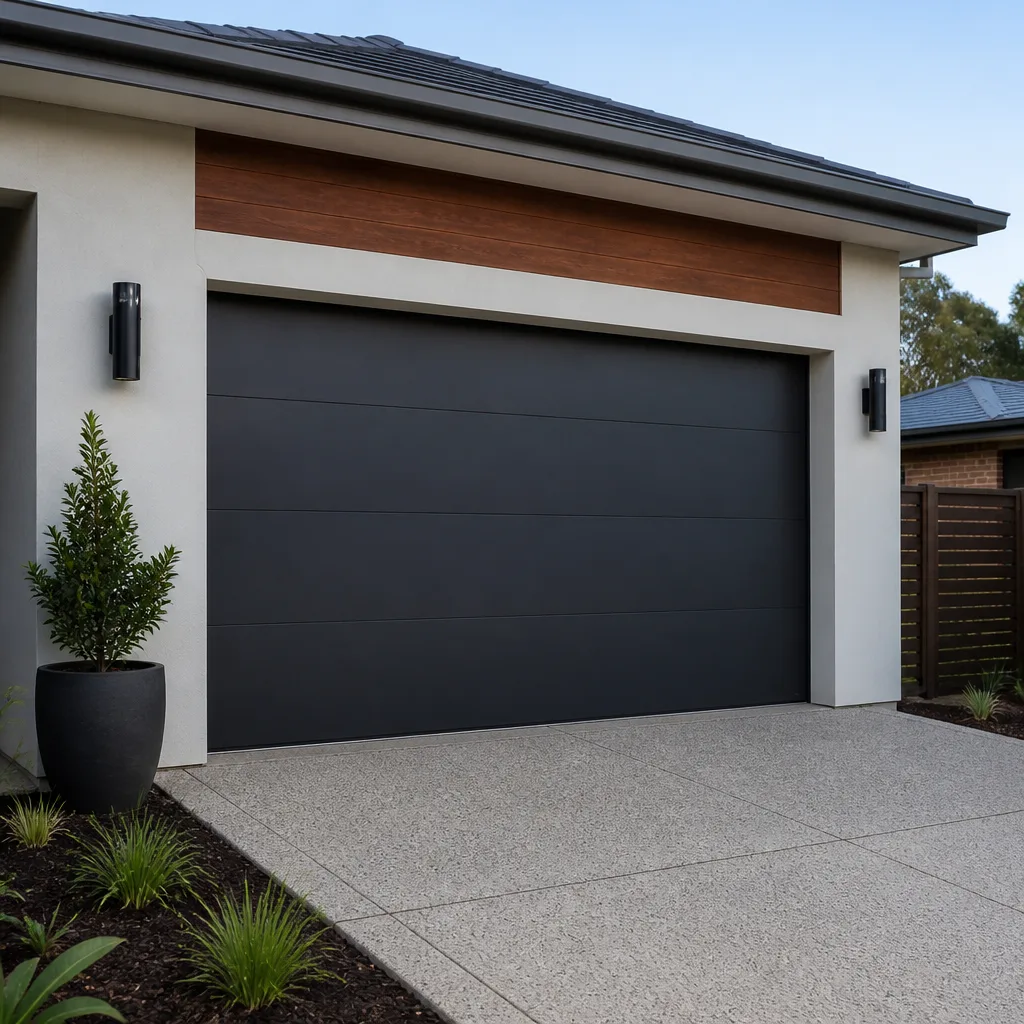 Modern flush
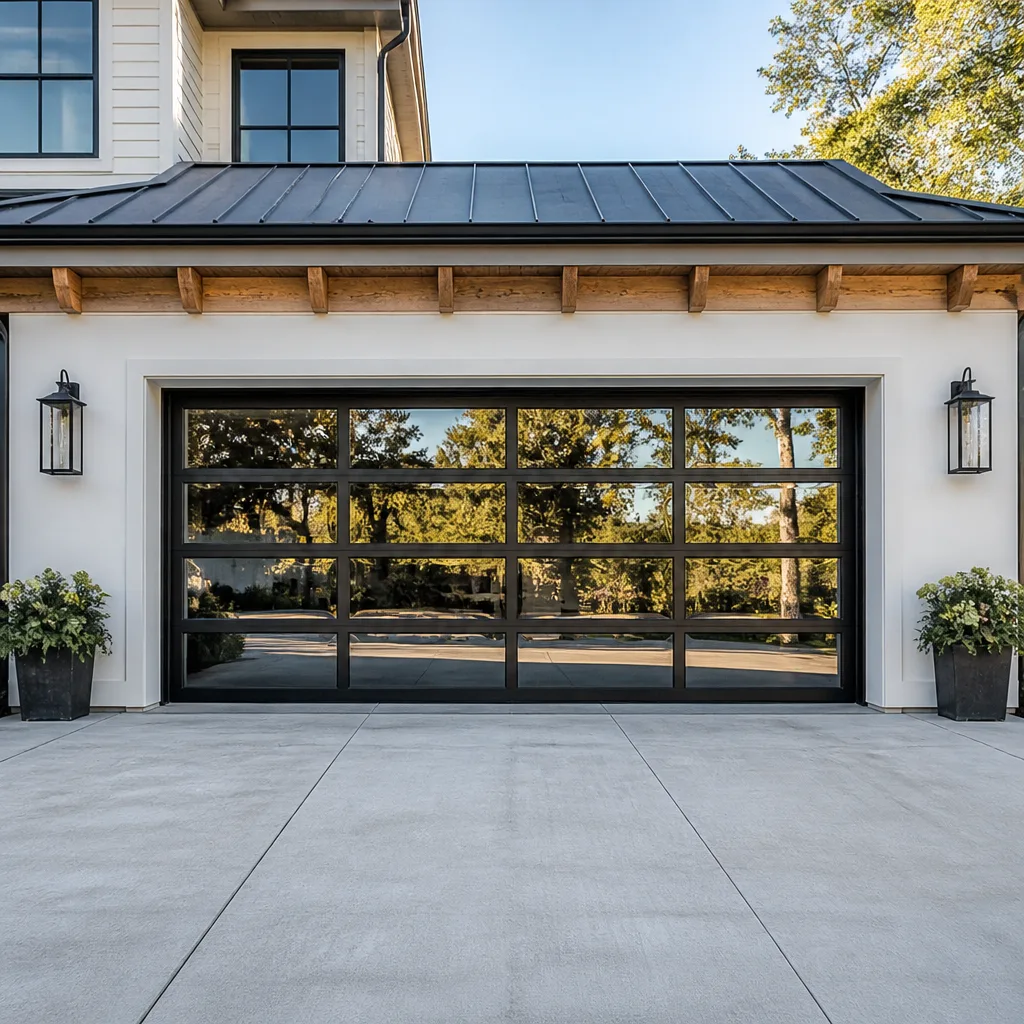 Full-view glass
 LiftMaster openers
 Chamberlain openers
Full 25-point door and opener safety check with every visit - springs, cables, rollers, tracks, and your LiftMaster or Chamberlain opener included
You get a price before we start. It does not change when the pro arrives.
Get your free estimateGarage Door Repair Maintenance Checklist for Aurora Homeowners
Wiping down the tracks and calling it maintenance is the garage door equivalent of checking tire pressure by looking at the tires. It feels productive. It misses every point that actually fails. A garage door is a system of springs under tension, cables under load, rollers carrying hundreds of pounds, and an opener electronics board that ties it all together, and the parts that break are almost never the parts people clean. What matters is knowing what to measure and what number means “replace it.” This guide gives you pass/fail thresholds for each component so you can tell normal wear from a failure in progress across Aurora’s seasonal swings, where a door can see subzero mornings in January and humid 90s in July.
Quick Answer
A working garage door maintenance checklist for an Aurora home covers five checks you can do safely: spring balance and travel deviation, cable strand inspection, roller and hinge lubrication on a seasonal schedule, bearing wear measured by cycle count, and weather seal compression tested with a dollar bill. Anything involving torsion springs, cables under tension, or the opener’s electrical panel belongs to a trained technician. If a check fails, the door has moved from “monitor” to “repair,” and that’s the point where a service call saves money over a sudden failure.
Styles & brands we work with
- Raised-panel steel
- Carriage house
- Modern flush
- Full-view glass
- LiftMaster openers
- Chamberlain openers
Table of Contents
- How to Check Torsion Spring Tension Without Touching the Spring
- Cable Fraying: How Many Broken Strands Mean Replace Now
- Lubrication Schedule for Aurora’s Temperature Range
- Roller and Bearing Inspection by Cycle Count, Not Calendar Date
- The Dollar Bill Weather Seal Test
- Opener and Safety Sensor Checks
- Seasonal Checklist for Aurora’s Climate
- When to Call a Professional
How to Check Torsion Spring Tension Without Touching the Spring
You can diagnose a spring problem without ever putting a hand on the spring itself. The trick is to watch how the door travels. A torsion spring that has lost tension, or is about to break, shows up as uneven movement, a door that won’t stay balanced at the halfway point, or an opener that strains and reverses. The spring is the most dangerous part of the system – a torsion spring holds enough stored energy to cause serious injury if it releases while someone is working on it – so the safe check is observation, not adjustment.
Here’s the balance test. It takes about two minutes and requires no tools:
- Close the door and disconnect the opener using the manual release cord so you’re moving the door by hand only.
- Lift the door to roughly waist height and let go. A properly balanced door stays where you put it, or drifts only slightly.
- Lift to the halfway point and release again. The door should hold. If it falls fast, the springs are under-tensioned or worn. If it rises on its own, they’re over-tensioned.
- Reconnect the opener and listen. A door that slams down or needs the opener to shove it up is telling you the spring is failing.
Travel deviation is the second signal. If the door opens or closes at an angle instead of evenly, or if one side lags, that points to a tension imbalance or a cable problem. In Aurora, where winter cold stiffens the metal and grease thickens, a marginal spring tends to fail on the first hard cold snap. That’s the reason so many spring failures here happen in January and February rather than in mild weather. If your balance test fails, don’t adjust the spring yourself – call for garage door spring repair and let a technician set the tension with the right winding bars.
Cable Fraying: How Many Broken Strands Mean Replace Now
A single broken strand on a lift cable is monitor territory. Two or more broken strands, or any strand separated at the drum end, means replace now. Garage door cables are braided steel, and they fray strand by strand before they fail. Catching the fray early is the difference between a cheap cable replacement and a door that drops off its track.
Run a gloved hand along each cable (never a bare hand – frayed steel is a nasty cut) and look closely at three areas: where the cable meets the bottom bracket, where it wraps the drum at the top, and any point where it bends. That’s where fatigue shows first. Then count:
- Zero broken strands: Pass. Note the date and recheck in six months.
- One broken strand: Monitor. Recheck monthly, and plan a replacement before the next heating season.
- Two or more broken strands, or any kink, birdcage, or slack: Replace now. Don’t operate the door.
- Cable off the drum or visibly slack on one side: Stop. This is a door that can fall. Call for emergency service.
Cables live under the same spring tension, so a cable problem is never a “wait and see” in our experience. The bottom bracket that anchors a cable can release with lethal force when the cable gives – this is one of the reasons cable work is a trained-technician job, not a homeowner repair. If you see slack or a cable off its drum, keep the door down and call it in. For general mechanical issues that aren’t cable emergencies, garage door repair covers tracks, brackets, and hardware along with cables.
Lubrication Schedule for Aurora’s Temperature Range
Most lubrication advice online ignores the fact that grease behaves differently at -10°F than it does at 95°F with humidity. In Aurora you get both in the same year, and the wrong product turns to glue in January or drips off in August. The schedule below is built around those swings.
Use the right product for the part. A white lithium grease works on the torsion spring, hinges, and bearing plates because it clings and stays put through cold. A silicone spray is better for the rollers and the opener rail. Never use WD-40 as a lubricant on the moving parts – it’s a solvent, it strips existing grease, and it attracts grit. Never use heavy wheel-bearing grease on the tracks; it gums up in the cold and collects road dust.
Here’s a lubrication schedule that matches Aurora’s climate:
- Late fall (before the first hard freeze): Apply white lithium grease to the torsion spring (a light coat along the coil, no packing it in), hinges, and bearing plates. Cold thickens everything, so this is the most important lube of the year.
- Early spring (after the thaw): Re-grease the spring and hinges, and hit rollers with silicone spray. Winter salt and grit have worked into the joints, and this clears the slate before the humid season.
- Mid-summer: A light recoating of silicone on the rollers and opener rail. Skip greasing the spring in summer – too much grease in heat attracts dust and holds it.
- Monthly between scheduled lubes: A quick wipe of the tracks with a dry cloth to clear grit. No cleaner, no lubricant on the tracks themselves – the door should ride dry there.
Watch what the grease tells you. If a hinge won’t take grease or feels loose, the metal is wearing through. Door brands like Clopay and Amarr use hinges that wear on a predictable curve, and catching a loose hinge before it lets the roller drop out of the track is a cheap fix versus a track repair.
Roller and Bearing Inspection by Cycle Count, Not Calendar Date
A roller that has run 4,000 cycles is worn out whether that took two years or ten. Calendar-based inspection schedules miss this completely, because a retired couple and a family of five with two cars can put wildly different wear on the same door in the same neighborhood. Count cycles, not months. One open-plus-close is one cycle.
Aurora usage averages depend on household type. A single-car household with a working driver leaving and returning once a day runs roughly 700 – 800 cycles a year. A two-car working household can double or triple that, pushing 2,000 – 2,500 cycles annually. A family with kids in and out all afternoon, or someone who runs a home business with deliveries, can exceed 4,000 cycles a year. Use your own routine to estimate, then check against the thresholds below.
How to inspect roller bearings:
- Under 10,000 cycles: Spray silicone on the rollers twice a year. Spin each roller by hand – it should turn smooth with no wobble. Replace any that grind.
- 10,000 – 15,000 cycles: Full roller replacement is due. Nylon rollers crack and steel rollers flat-spot around this mark. This is also when the bearing plates at the torsion bar start to wear.
- Over 15,000 cycles: Replace rollers and inspect hinges and bearing plates for wear. At this point the whole hardware set is near the end of its service life.
- Noisy operation at any cycle count: A door that shudders or squeals is telling you a bearing or roller has failed. Check it now, not at the next scheduled inspection.
If your door is approaching the 10,000-cycle mark, that’s the natural time to schedule a hardware refresh rather than wait for a roller to seize and throw the door off track. It’s also the moment to look at the opener, since the average opener’s gear and rail wear roughly in step with the door’s hardware. When the opener is the weak link, garage door opener repair covers the electronics and drive components together.
The Dollar Bill Weather Seal Test
You can predict winter heat loss at the garage with a dollar bill and about sixty seconds. Close the door on a dollar bill at the bottom seal, then pull gently. If the bill slides out with almost no resistance, the seal isn’t compressing – that’s a gap you’ll pay for in heating bills. If it takes a firm tug to remove, the seal is doing its job. Test at the center of the door and at both corners; corner gaps are the most common and the most overlooked.
Repeat the test along the sides and top with a dollar bill as well. The bottom seal is the big one, but side and top seals that have hardened or shrunk let in cold air and road grit too. In Aurora, where road salt in winter and grit in spring both work on the seal, the bottom seal is usually the first to fail. Expect it to last a handful of seasons before the rubber hardens and stops compressing.
What each result means:
- Firm resistance all along the bottom: Pass. Seal is compressing correctly.
- Slides out easily at one or two spots: Monitor. The seal has compressed flat. Plan a replacement before cold weather.
- Slides out everywhere, or you can see daylight under the door: Replace now. You’re losing heat and letting in pests and water.
- Visible cracking or chunks missing from the rubber: Replace now. This is a one-season fix that prevents a bigger water problem.
The dollar bill test also catches something else: a door that isn’t closing flush. If you can pull the bill out easily on one side but not the other, the door is out of level, and that’s a track or cable issue, not a seal issue. That’s a call for a technician rather than a trip to the hardware store.
Opener and Safety Sensor Checks
The opener is the electronic half of the system, and its safety features are the part to verify first. A garage door that closes on a person or pet because a sensor failed is the one failure mode with real injury risk. Check the safety sensors monthly – a quick pass that takes a minute.
- Safety reverse test: Place a piece of wood or a box flat on the ground in the door’s path. Close the door with the opener remote. The door must reverse on contact. If it doesn’t, stop using the opener and get it serviced.
- Sensor alignment: The two sensors at the bottom of the tracks should have a steady indicator light on both. If one is flickering or off, they’re misaligned or blocked. Clean the lenses and check that the brackets are straight.
- Force setting: If the door reverses before it reaches the floor, the travel limits or force setting has drifted. That’s an adjustment, not a repair, but it should be done by someone who knows the opener’s programming.
- Battery backup (if equipped): Test it by unplugging the opener briefly and running the door. A backup battery that won’t hold the door up needs replacement before the next storm season.
Opener electronics on the smart-home-integrated brands – LiftMaster and Chamberlain are the two we see most in Aurora – are common failure points around the logic board and the wall control wiring. If your opener beeps, flashes a fault code, or the remote stops pairing, that’s not a mechanical problem. It’s a board or sensor issue and it’s worth having checked rather than troubleshooting blind. For anything beyond a battery swap or sensor clean, it’s an opener repair rather than a maintenance task.
Seasonal Checklist for Aurora’s Climate
Garage door maintenance in Aurora runs on a two-season rhythm tied to the temperature extremes. Build the checks below around the two hard freeze and the two humid peaks, and you’ll catch most failures before they get expensive.
Fall (before the first freeze):
- Run the balance test and travel deviation check (spring health matters most as cold arrives).
- Grease the spring, hinges, and bearing plates with white lithium.
- Dollar bill test the bottom seal and replace it if it slides out easily.
- Test the safety reverse and check the sensor indicator lights.
- Clear the tracks of grit and confirm the door travels evenly.
Spring (after the thaw):
- Inspect cables for broken strands and slack after a winter of contraction.
- Re-grease the spring and hinges; silicone the rollers.
- Test the bottom seal again – ice can tear the rubber.
- Look for rust on hinges and bearing plates from winter moisture.
- Check that the door still reverses on contact.
Summer (humidity peak):
- Re-silicone rollers and the opener rail.
- Check for binding on humid days – swollen wood on older doors can cause it.
- Verify sensor alignment hasn’t shifted with heat expansion.
Wayne Dalton doors, which show up on a lot of Aurora homes, and Genie openers both tend to show their wear at the seasonal extremes rather than mid-season. If you’ve done the fall and spring passes and the door still misbehaves in January or July, that’s a sign of a component at the end of its life, not a maintenance gap.
Common Mistakes to Avoid
- Lubricating the tracks. The tracks are meant to ride dry. Grease on the tracks collects grit and turns into grinding paste in the cold. Clean them with a dry cloth instead.
- Adjusting a torsion spring yourself. A torsion spring holds enough energy to break a bone or worse if it releases during adjustment. This is the one component no homeowner should touch beyond the balance test.
- Ignoring a door that reverses on its own. A door that reverses before hitting the floor or won’t stay closed usually points to a sensor, a force setting, or a cable issue. It’s a call, not a “wait and see.”
- Replacing one roller instead of the set. A roller at 10,000 cycles has siblings at the same wear. Replacing one leaves the rest to fail within weeks. Replace hardware in sets.
- Skipping the dollar bill test before winter. A failing bottom seal is a cheap fix in fall and a cold garage all winter if you miss it. Test it before the first freeze, not after.
- Using the wrong lube. WD-40 isn’t a lubricant for this job, and heavy grease gums up in January. Match the product to the part and the season.
- Guessing a cycle count. If you don’t know how many times the door runs a day, estimate from your routine. An off-the-cuff “it’s not that old” is how a 12,000-cycle door limps through its last winter.
See the difference
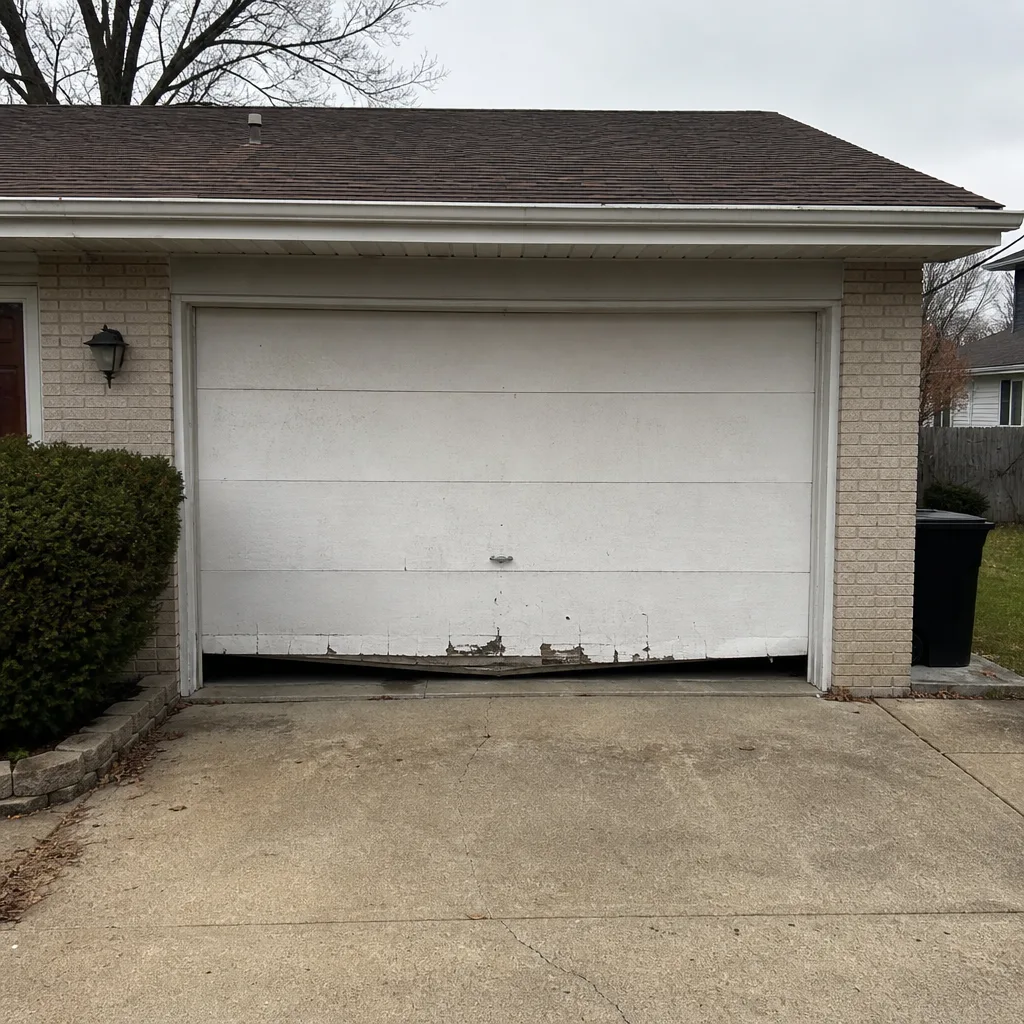 Before
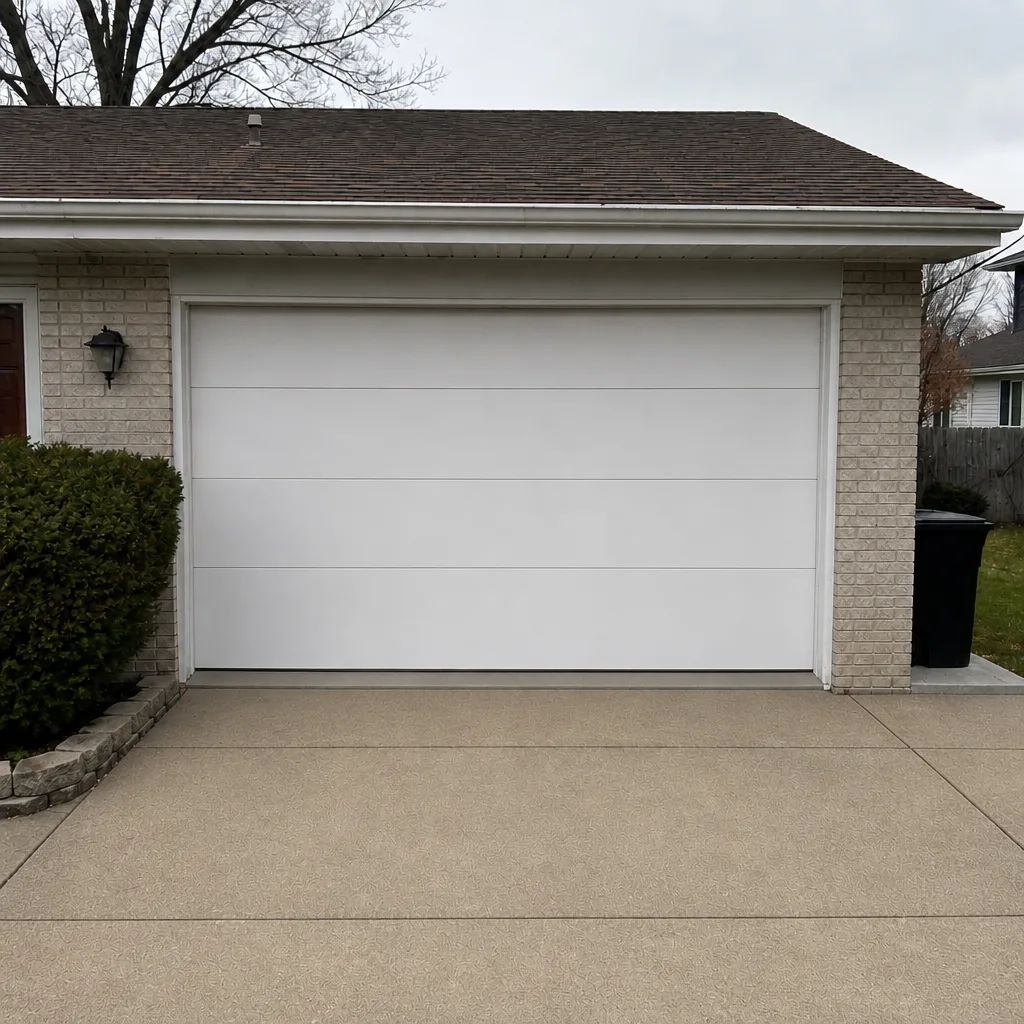 After
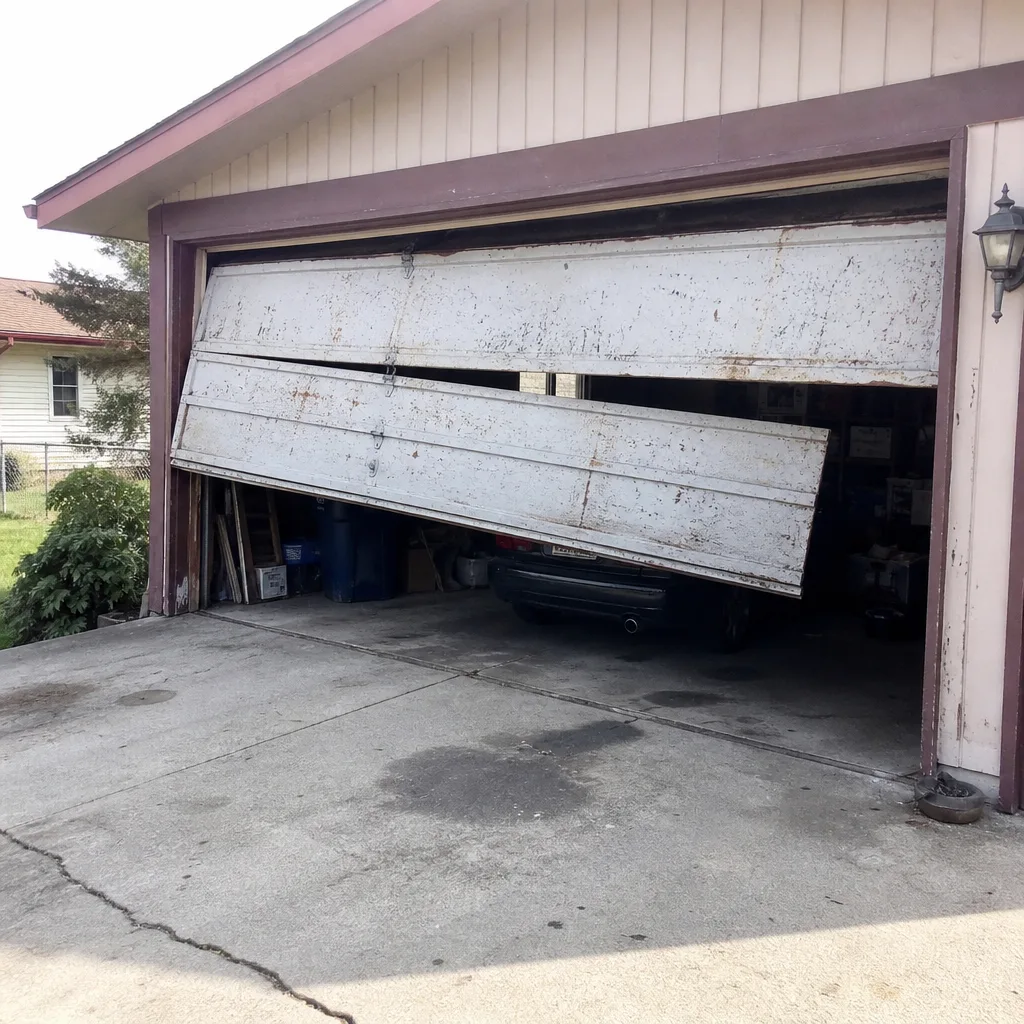 Before
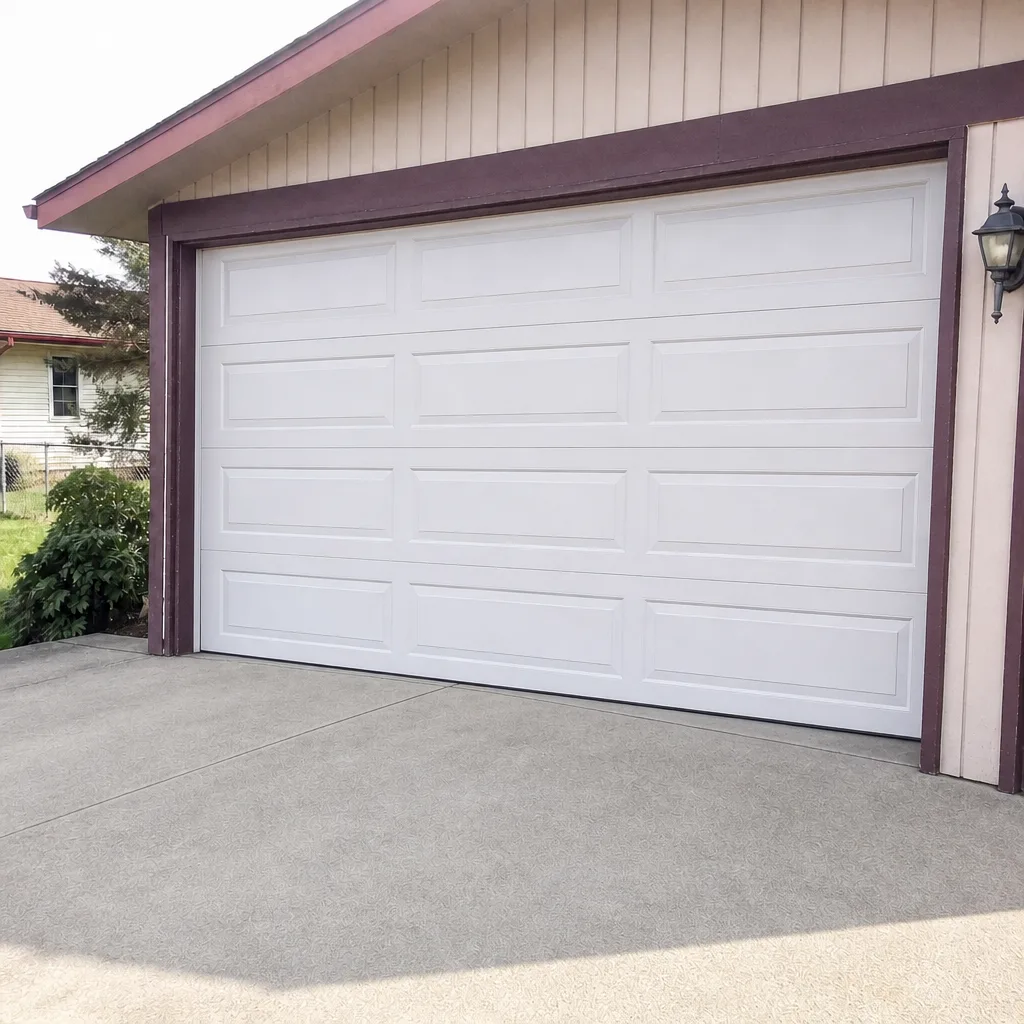 After
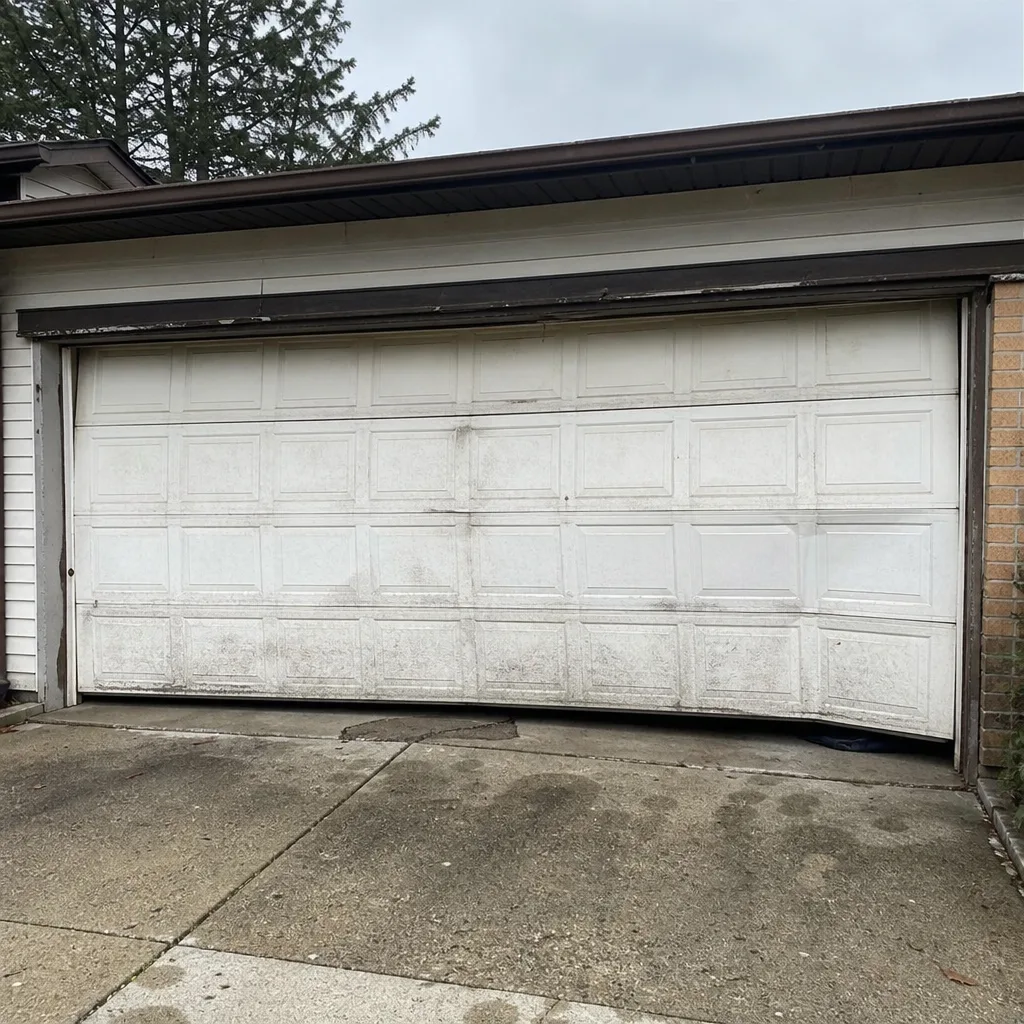 Before
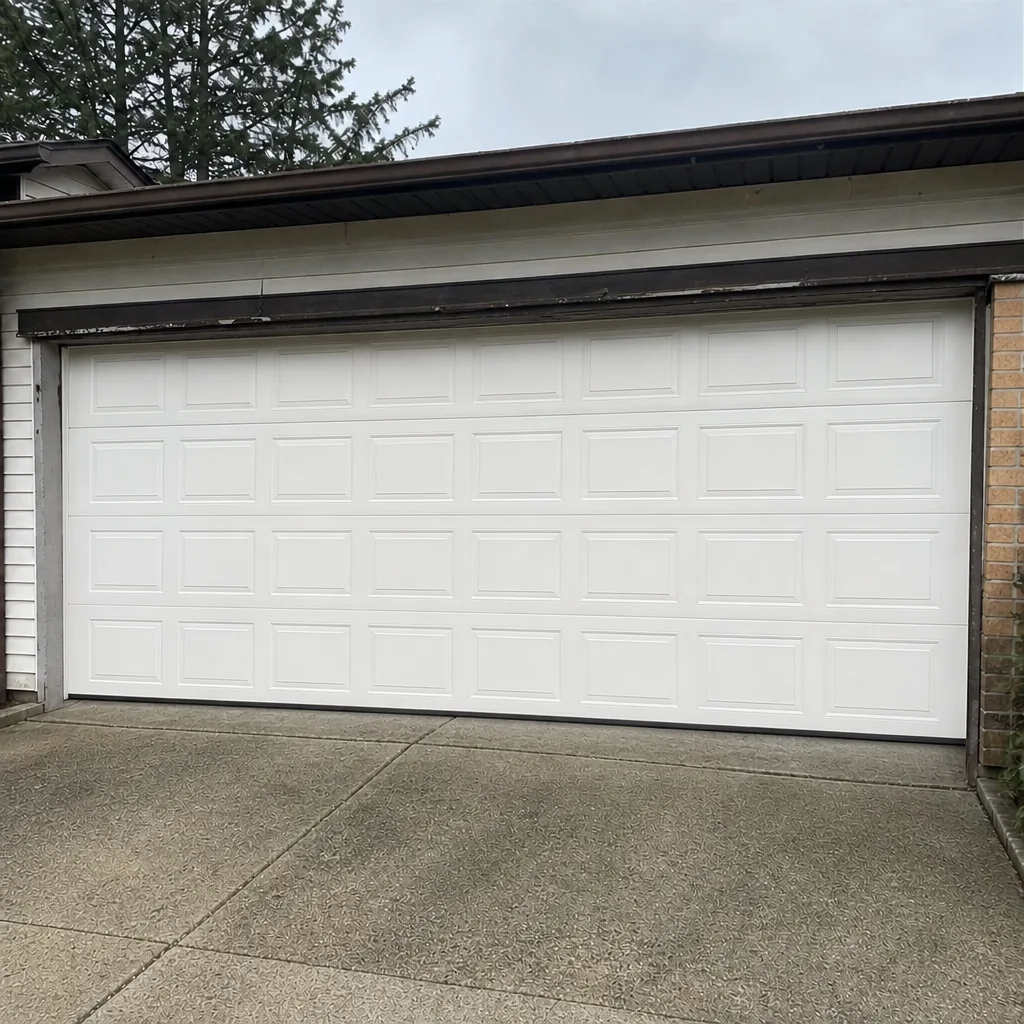 After
When to Call a Professional
Call a technician when any check fails, when the door won’t stay balanced, or when you see slack or broken strands on a cable. Call immediately if the door comes off its track, won’t close, or the safety reverse fails – those are safety failures, not maintenance notes. And call if you’re uncertain about a spring; the cost of a service check is always less than the cost of a failure. Our technicians have up to 11 years of experience, and we know the major door and opener brands by sight, so diagnosis is faster. Garage Door Repair Aurora Pros offers free estimates in Aurora – call (855) 337-1088. We answer 24/7. Fast dispatch from 7am to 7pm, Sunday through Friday, and the price is quoted and agreed before any work starts. Our team specializes in the full system, from springs and cables to electronics and new doors, so one call covers the checks this guide can’t safely reach.
Frequently Asked Questions
You should run the full checklist twice a year, once in fall before the first freeze and once in spring after the thaw, with a lighter mid-summer pass. The seasonal timing matters because Aurora’s temperature swings are what stress springs, seals, and grease. Between those passes, do the dollar bill test and safety reverse check monthly, since both are quick. If any check fails, don’t wait for the next scheduled pass.
Yes, and you should. The safe check is the balance test: disconnect the opener, lift the door to halfway, and let go – if it stays put, the spring is balanced; if it falls, the spring is weak. Watch for uneven travel or an opener that strains. Never wind or adjust a torsion spring yourself; a qualified technician should handle tension work. Call (855) 337-1088 for a free estimate if the balance test fails.
One broken strand is monitor territory; two or more broken strands, or any slack or kink, means replace now. A single frayed strand gives you warning time to plan the repair before the next hard frost. Any cable off the drum or visibly slack on one side is a stop-operating situation.
White lithium grease is the best all-around choice for springs, hinges, and bearing plates because it clings at low temperatures and stays put. Use silicone spray on rollers and the opener rail. Never use WD-40 as a lubricant on moving parts, and never grease the tracks – they should ride dry. Re-grease in fall before the freeze and again in spring after the thaw.
Yes. A bottom seal that slides a dollar bill out too easily is letting cold air into the garage, which sits against an exterior wall of the house, and that means heat loss in winter. The dollar bill test tells you pass/fail quickly: if the bill slides out with no resistance, the seal isn’t compressing. Replacing it is a straightforward job and worth doing before winter.
You can safely handle lubrication, the dollar bill test, the safety reverse check, cleaning the tracks, and replacing a battery in the opener. Springs, cables, and opener electrical work belong to a trained technician because of the stored energy and injury risk. If you’re ever unsure whether a part is safe, stop and call.
If the door panels are bent, the track is warped, or the door is over 10,000 – 15,000 cycles and multiple components are failing at once, a full replacement makes more sense than piecemeal repairs. A technician can tell you at the estimate which path saves more over the life of the door. We handle both, so the recommendation isn’t biased toward one answer. Call (855) 337-1088 for a free estimate.
Spring repair pricing is set per job by a written estimate after a technician inspects the door, so the quote is the price – it doesn’t move once work starts. That’s why we give a written price before the work, not after. Call (855) 337-1088 and we’ll get you an exact number. Estimates are free.
The Bottom Line
Maintenance isn’t wiping down tracks. It’s measuring: balance test for the spring, strand count for the cables, cycle count for rollers, dollar bill compression for the seal, safety reverse for the opener. Every one of those has a clear pass/fail number, and the point of the checklist is knowing exactly which side of the line your door is on. A garage door is your home’s largest moving part, and treating it like a door you check twice a year keeps a small repair from becoming a failed door at the worst time. In Aurora, where a hard freeze follows a hot humid summer, those checks are cheap insurance against the first cold snap.
Ready to get your door checked? Call Garage Door Repair Aurora Pros at (855) 337-1088 for a free estimate. We answer 24/7. Fast dispatch from 7am to 7pm, Sunday through Friday. We service LiftMaster, Chamberlain, Genie, Clopay, Amarr, Wayne Dalton, Craftsman, and Raynor, so we show up knowing your system before we touch it.
Start with the highest-intent check: if the balance test fails or you see a slack cable, don’t wait for the calendar. Book a service call, and let the team verify the whole system in one visit.
Written by the team at Garage Door Repair Aurora Pros.